
Heart Box
Get ready for Valentine’s Day with this quick craft. This origami heart box is the perfect addition to your Valentine's Day gift.
Starting with a square piece of paper (this one is 8.5” x 8.5"), fold the paper from corner to corner. Making an accurate fold will help the heart box come together with ease. Take your time to line up each fold. Then repeat folding with the opposite corner. Compare to image 4 before moving on.
Fold the page in half, open and fold in half from the other direction. Compare your paper to image 4, and make sure you have the same folds.
Rotate your paper so a corner is at the top. Following image 2, line up the right corner with the center. Crease the fold once you have carefully aligned the corner with the center of the page. Repeat with the left side. Open the fold back up and bring the corner to the line created by the last fold. Refold both sides and compare your paper to image 4 before moving on.
Fold the outer edge, aligning it with the center fold. Repeat on both sides; the results should match image 1. Now fold in half and reopen.
Pick up the edge of the top right side and align it with the fold created by folding the project in half in the previous step. In image 1, the purple-highlighted area shows where the fold will take place. At this point, the box will start to take shape. Repeat this fold on all four corners.
Highlighted in purple are the three corners that will need to be folded toward the center. Fold each corner in, resulting in the square in image 3. Repeat folds on the other end. After you have repeated these folds on both sides, your project should look like Image 3. Image 4 shows one side that can be lifted; that is where you will be doing the fold in the next step.
Lift the bottom corner, bring it to the center, and crease the fold. Lift the top corner, bring it half way to the center, and crease fold. This is creating the form of the heart. Repeat on the other side. Once both sides are complete, your project should match image 4.

The purple highlights in image 1 shows where the folds in the step will take place. The purpose of this step is to define the shape of the heart. Pick up the corner in the center and fold it over; crease the fold and unfold. This crease is creating a guideline that will allow you to turn the corner inward. Image 3 shows the opening of the side of the heart. Push in the center of your last fold. Carefully push the corner away from the center and fold. This fold was created on half of the center dip of the heart. Repeat on the other side.
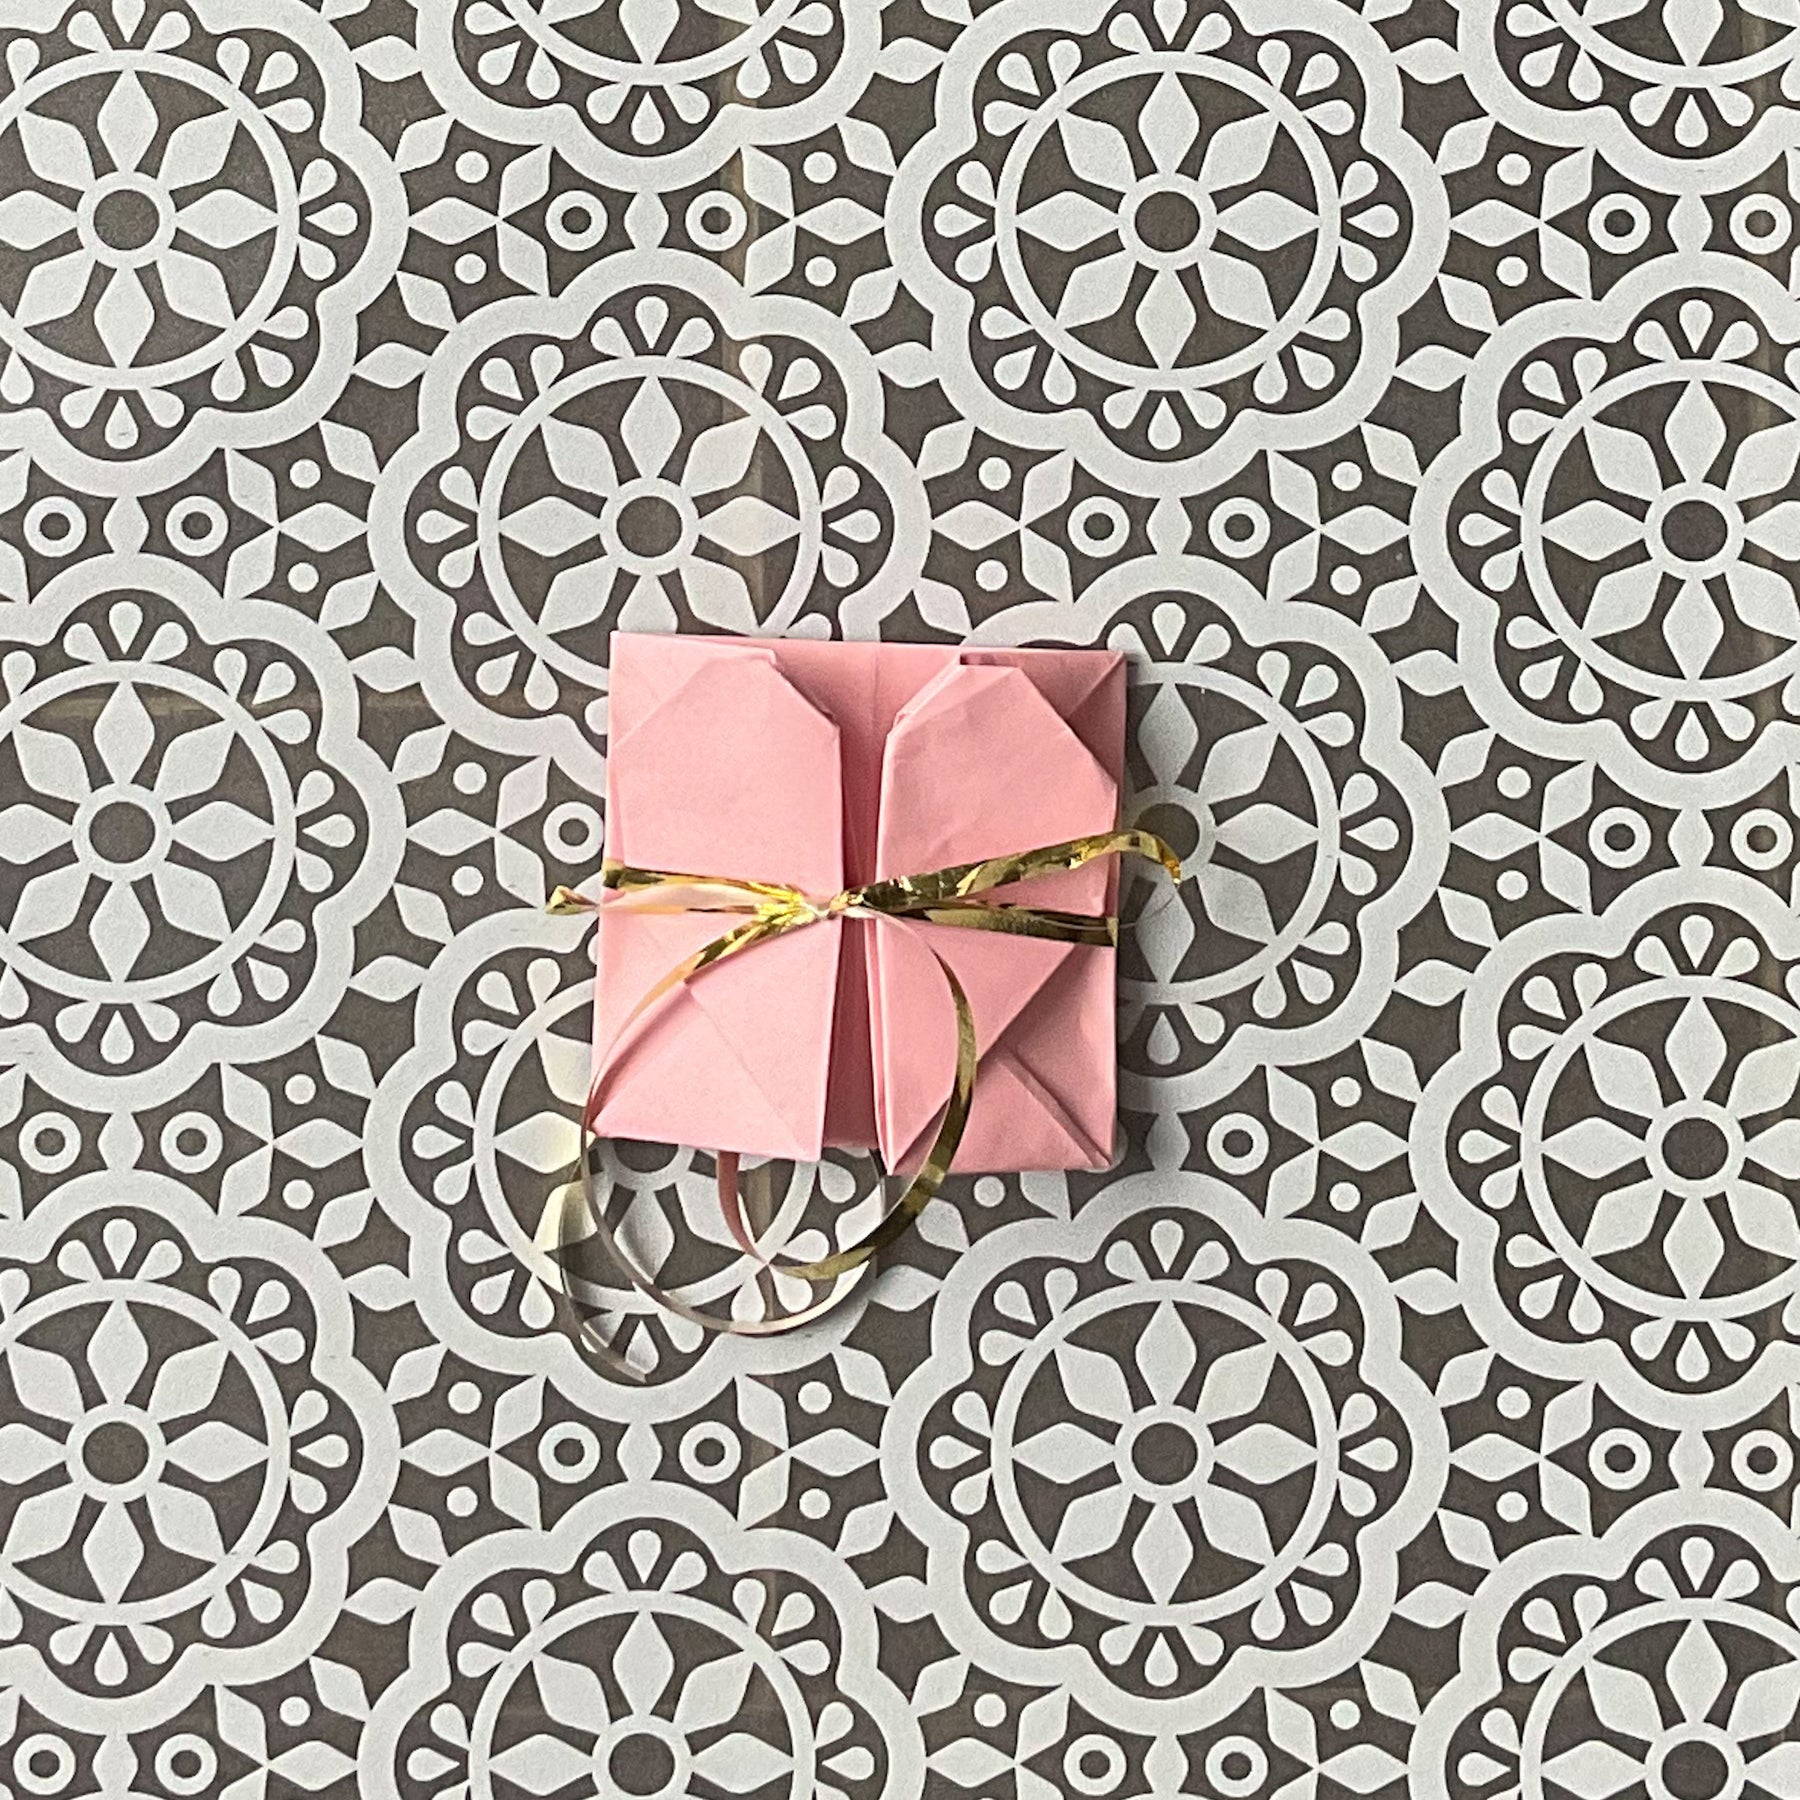
Your project should match image. 1. You did it!! Your heart box is complete. Add jewelry or a note for your Valentine. You can use ribbon or tape to close it securely.
You’ve made a beautiful box; do you need some ideas on what to put inside? You can shop our Valentine's Day collection here.
Leave a comment